Step 1: Gather supplies.
One pair of white canvas
sneakers
Ruler Manil file folder or other stiff paper
Pencil Scissors
Fabric markers in various colors (ones with both a thick and thin tip are best) 
Step 2: Using the ruler, draw a straight line near the edge of the manila file folder. Step 3: Next, create a zig-zag pattern inside the two parallel lines by connecting every other tic. For example, start at the bottom left-hand corner of the lower line, and connect to the second tic mark on the upper line. Connect the second tic-mark on the upper line to the third tic mark on the lower line, and so on.
 Step 4:Now that you’ve just created all of those triangles, cut away the lower row of them (sorry!). You should be left with what looks like a row of teeth at the bottom of the folder. Feel free to use this template to create a shark or bear costume for Halloween.
 Step 5: Position the template onto the toe of the sneaker. You’ll be working your way from the front to the back of the shoe. Position the template wherever you like it best, but we felt it was easiest to keep things lined up by having the point of one triangle in the center.
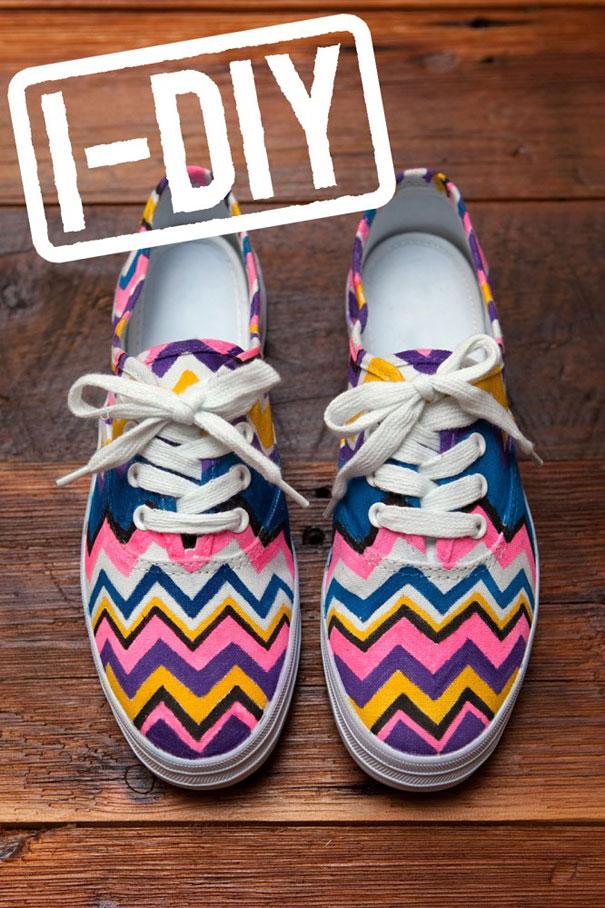
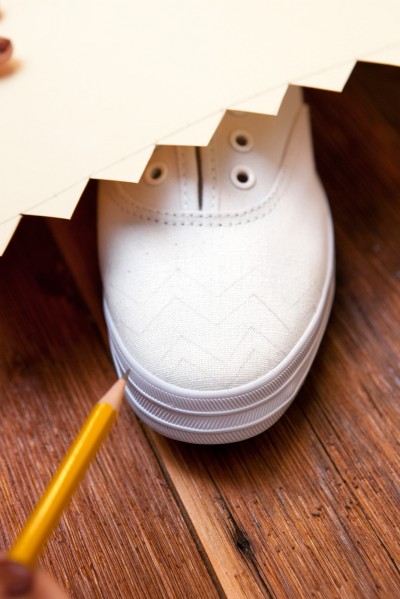 Step 6: Grab your fabric markers and start coloring in the rows, making sure that each row is a different color. The colors don’t have to be spaced evenly or in any sort of pattern (but go for it if you want!), so feel free to switch it up as much as you’d like. If your markers have differently sized tips, use the thin edge to outline the rows, and the thick to fill them in.
AND ENJOY!
 Via: http://www.boredpanda.com/creative-diy-project-ideas/

